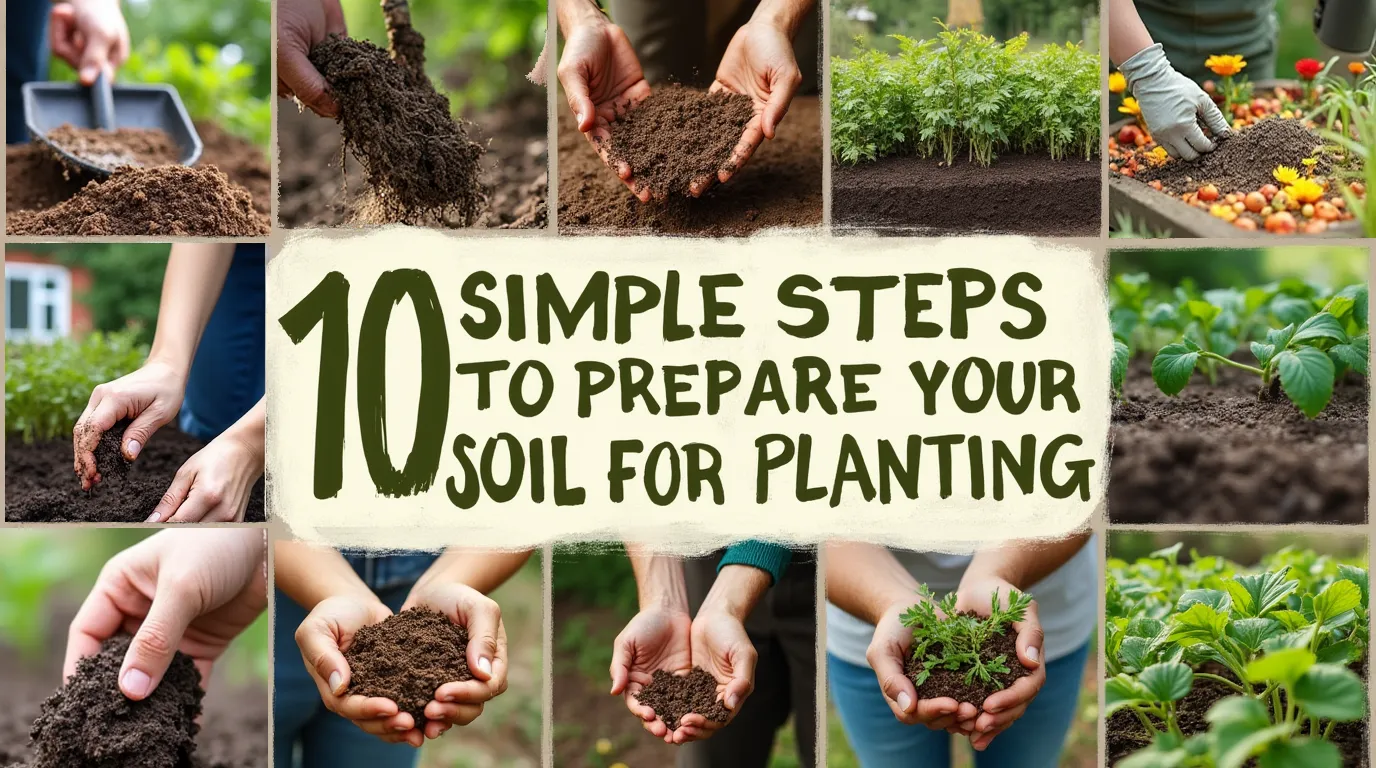
To prepare your soil for planting, start with healthy soil—the foundation of a thriving garden. Whether you’re growing vegetables, flowers, or herbs, proper soil preparation sets the stage for robust growth and bountiful harvests. Follow these 10 simple steps to transform your dirt into a nutrient-rich paradise for plants
Improve Soil Fertility
Transform lifeless dirt into nutrient-rich soil by mixing in compost, aged manure, or leaf mold. These organic powerhouses feed microbes, improve texture, and lock in moisture. Pair with targeted fertilizers (like bone meal for phosphorus) to address specific plant needs and kickstart growth.
1. Adding Organic Matter
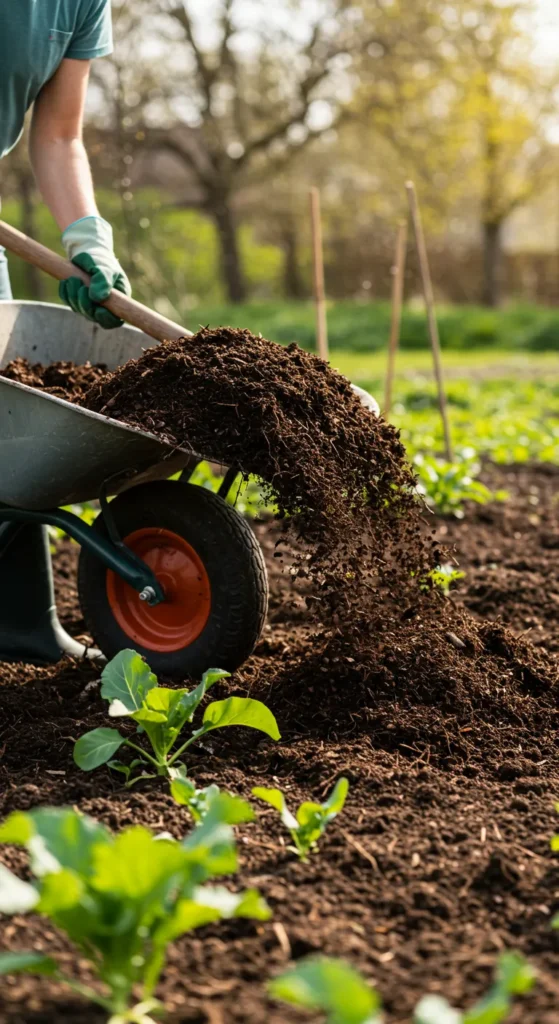
Enhance your soil with compost, leaf mold, or well-rotted manure. Organic matter improves texture, moisture retention, and nutrient content, giving plants a solid foundation. Spread a 2–3 inch layer over your garden bed and mix it into the top few inches of soil. Repeat annually to maintain fertility as it breaks down.
Pro Tip: For clay soil, combine compost with coarse sand to boost drainage
2. Incorporating Fertilizers
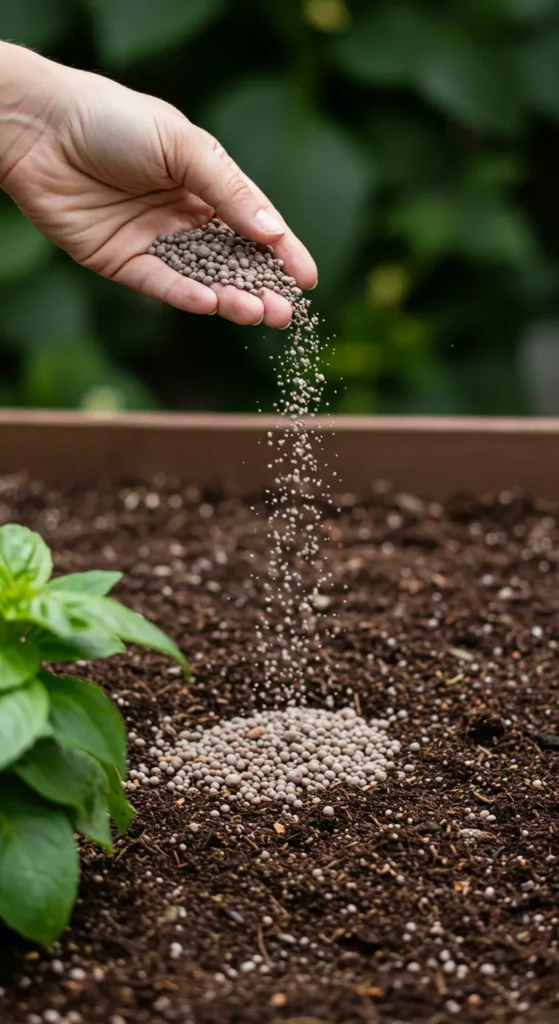
Choose organic options like compost, bone meal, or blood meal, or use a synthetic fertilizer tailored to your plants’ needs. Sprinkle evenly over the soil and mix it into the top layer to ensure nutrients reach plant roots. Avoid over-fertilizing—follow package instructions carefully.
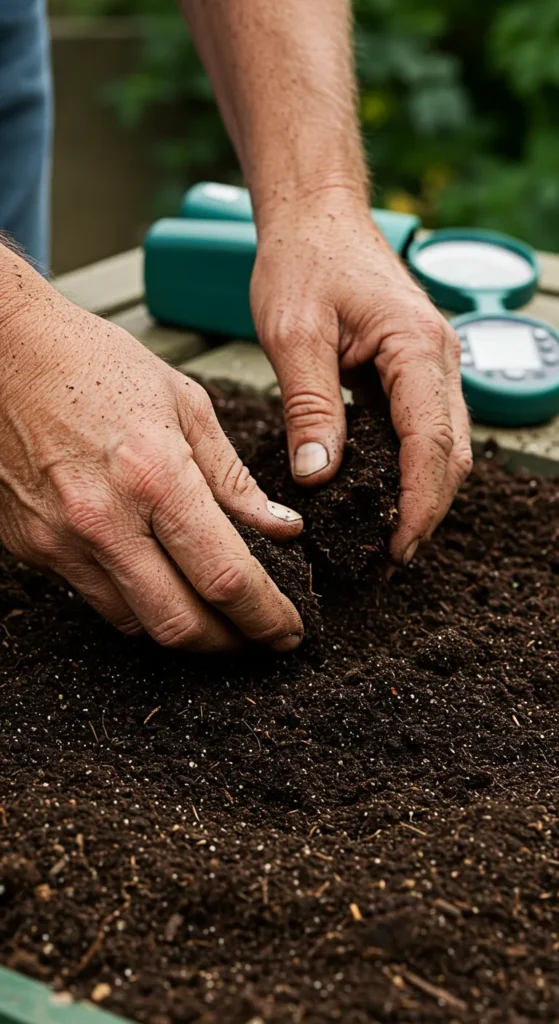
Prepare and Test the Soil
Break up compacted earth with a tiller or fork to let roots breathe. Test pH and nutrients with a simple kit—adjust with lime for acidic soil or sulfur for alkalinity. Aim for soil that’s crumbly, drains well, and feels alive in your hands.
3. Tilling the Soil
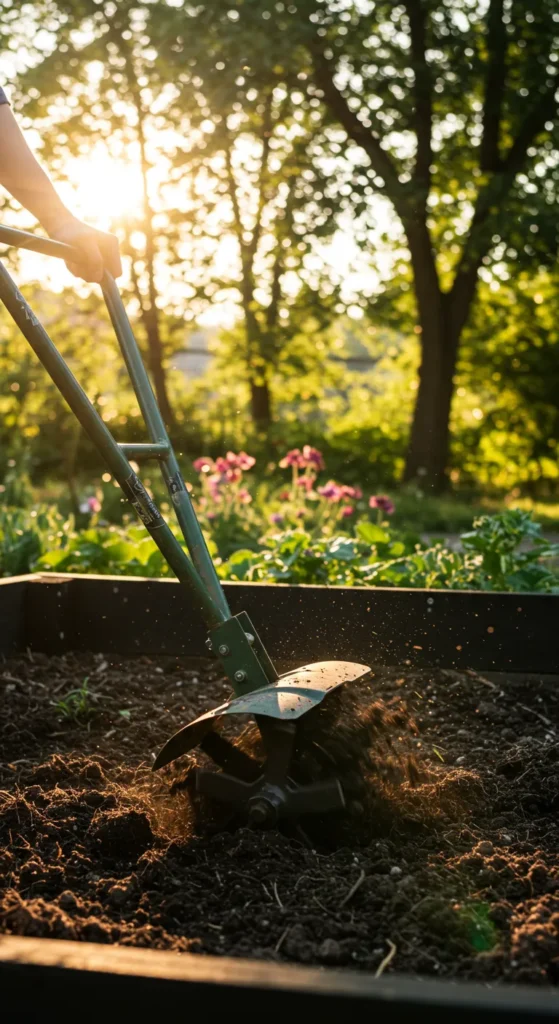
Use a tiller or garden fork to loosen compacted soil to a depth of 8–12 inches. This improves aeration, drainage, and root growth. After tilling, check the soil’s texture—if it’s still dense, add compost to enhance structure.
Pro Tip: Avoid tilling wet soil, as it can clump and harm beneficial microbes.
4. Testing Soil pH Levels
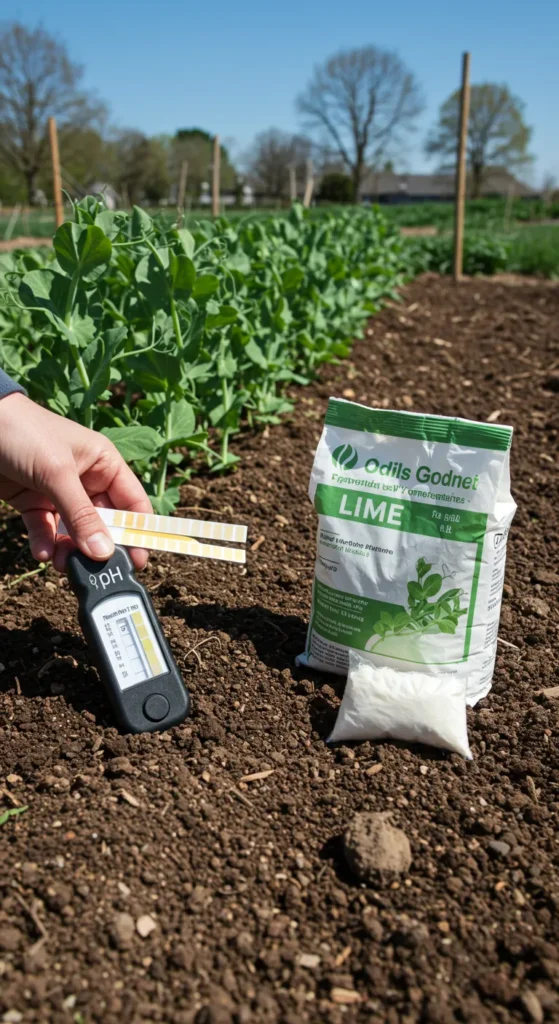
Before planting anything in your garden, it’s crucial to understand the pH levels of your soil. The image above shows a simple pH test strip being used in the soil. This little tool can tell you if your soil is too acidic or alkaline, which is key for healthy plant growth.
Testing your soil’s pH is straightforward. Just insert the test strip into the soil and compare the color change to the provided scale. If the pH is too low (acidic), you might want to add lime. If it’s too high (alkaline), sulfur can help bring it back to a balanced level. Knowing your soil’s pH helps ensure that your plants have the nutrients they need.
By taking this step, you set the stage for successful planting. It gives you a clear picture of what amendments might be necessary to create the healthiest environment for your plants to thrive. So grab your pH test and get started!
5. Assessing Soil Quality
Check soil for Planting texture by feeling it—healthy soil is crumbly and holds moisture without being soggy. Test nutrient levels with a soil test kit. Amend with compost or specific nutrients (like nitrogen or phosphorus) based on results.
Design Your Garden Space
Build raised beds to conquer poor drainage and control soil quality. Fill them with a mix of topsoil, compost, and sand for structure. Position beds in sun-drenched spots and add gravel to soggy areas to keep roots happy and dry.
6. Creating Raised Beds
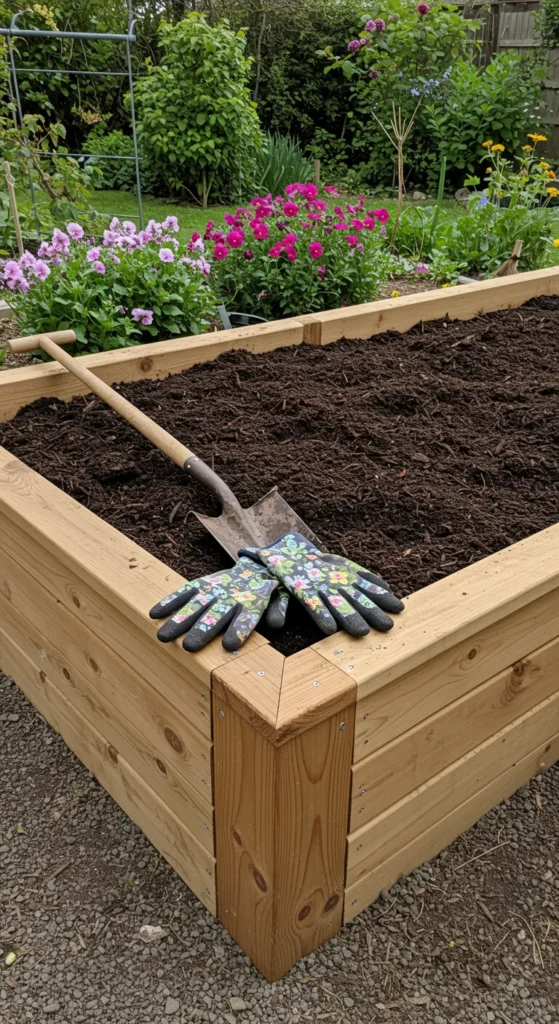
Build raised beds to improve drainage and control soil quality. Fill them with a mix of topsoil, compost, and organic matter. Position beds in sunny areas with good airflow for optimal plant growth.
Pro Tip: Use rot-resistant materials like cedar for long-lasting beds.
7. Ensuring Proper Drainage
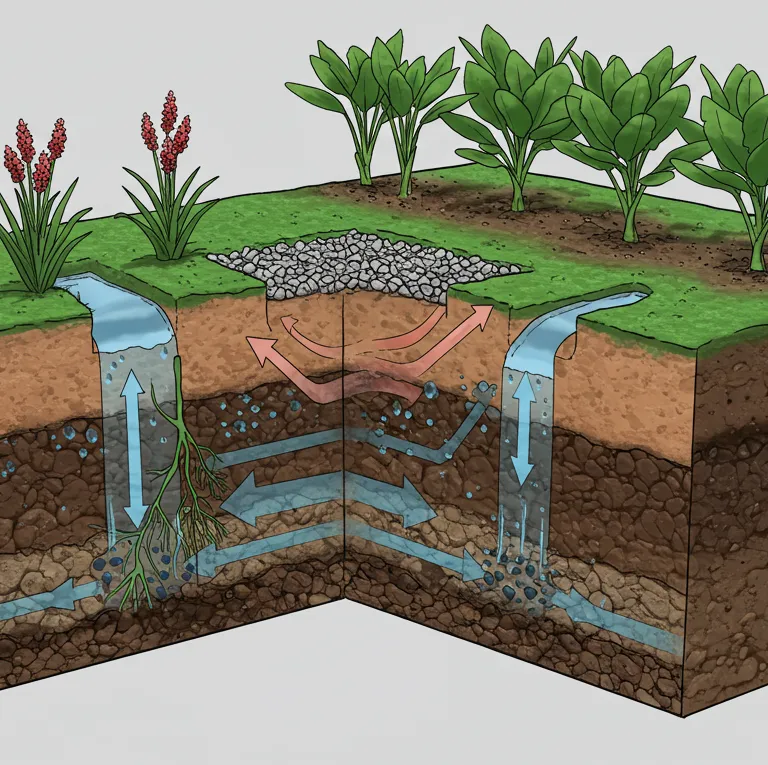
When preparing your soil for planting, ensuring proper drainage is key. The image illustrates a cross-section of soil that effectively demonstrates how to achieve this. The layers show how water can flow through the soil, allowing roots to breathe while preventing waterlogging.
The graphic highlights essential components like gravel or drainage pipes. These materials facilitate the movement of excess water away from the root zone. If the soil retains too much moisture, it can lead to root rot and other issues.
The concept of drainage is easy to grasp. By incorporating materials that allow water to escape, you create a healthier environment for your plants. Consider adding organic matter or compost to improve soil structure. This helps retain some moisture while still allowing excess water to drain.
Ultimately, a good drainage system can make a significant difference in plant health. So, before you plant those seeds, take a moment to ensure your soil can handle the water!
Clear and Maintain the Area
Declutter your garden by yanking weeds, tossing rocks, and raking debris. Lock in moisture and block weeds with 2–3 inches of mulch. A tidy garden means fewer pests and more energy for your plants.
8. Removing Weeds and Debris
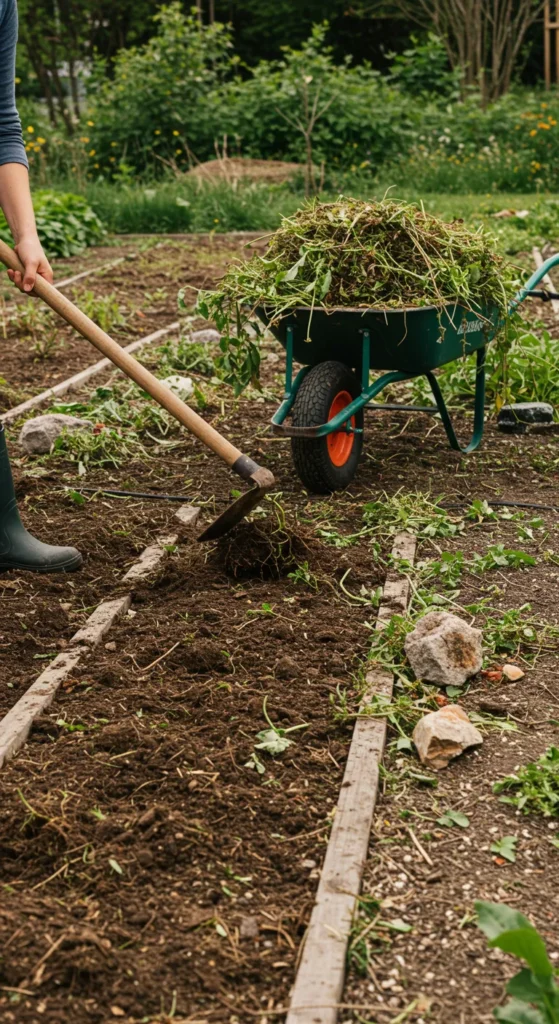
Clear the area of weeds, roots, rocks, and old plant debris. Weeds compete for nutrients, while debris can block root growth. Pull weeds by hand or use a hoe for larger areas.
9. Mulching for Moisture Retention
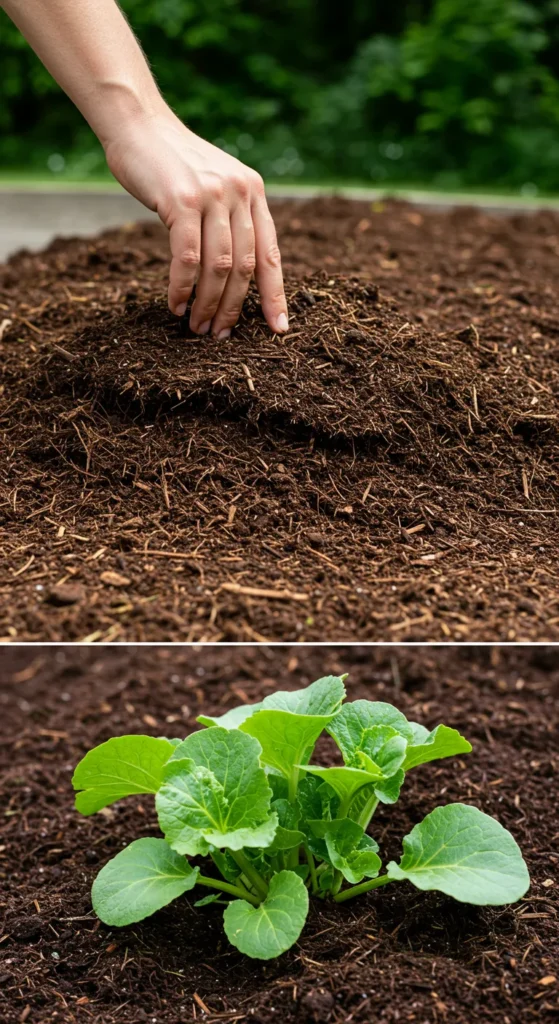
When you apply mulch, it acts like a blanket for your soil. It helps retain moisture by reducing evaporation. This is especially important during hot summer months when plants can easily dry out. A layer of mulch can keep the roots of your plants cool and hydrated.
Additionally, mulch suppresses weeds, which compete with your plants for water and nutrients. By covering the soil, you not only keep it moist but also give your plants a better chance to thrive. It’s a win-win situation!
So, if you’re preparing your soil for planting, remember to include mulch in your routine. It’s an easy step that contributes to a healthier garden ecosystem.
Plan for Future Success
Outsmart pests and soil fatigue with crop rotation. Sketch a layout that rotates heavy feeders (like tomatoes) with soil-revivers (like beans). A little planning today means bigger harvests tomorrow.
10. Planning Crop Rotation
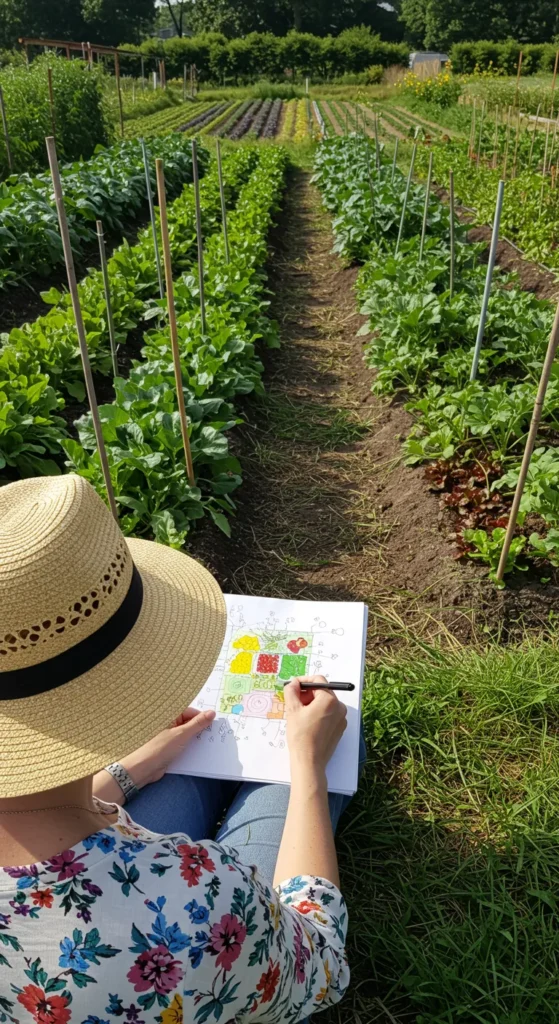
In the image, we see a person deep in thought, sketching out a colorful plan for crop rotation. This thoughtful approach is key to preparing the soil for planting. Planning your crops helps maintain soil health and can significantly improve your harvest.
Crop rotation involves changing the types of crops grown in a specific area each season. This practice helps prevent soil depletion and reduces pests and diseases. Just like the person in the image, taking time to sketch out your planting plan can be beneficial. It allows you to visualize what will grow where and when.
For example, after growing a nitrogen-fixing crop like legumes, you might want to follow with leafy greens. This sequence helps make the most of nutrients in the soil. Consider what you want to plant this season and how it will fit into your overall plan. Having a clear strategy in mind, like the one our friend is marking out, makes the gardening process smoother and more effective.